- Material
-
- Aluminium 63
- Brass 8
- Stainless Steel 8
- Galvanised Steel 1
- Mild Steel 1
A Step-by-Step Guide to Screwing Into Sheet Metal
If you've ever tackled a DIY project, chances are that you've encountered sheet metal at some point. It's everywhere, from your roof to your refrigerator, thanks to its winning combination of strength, workability, and slim profile.
This thinness makes sheet metal a breeze to work with - no advanced tools or techniques needed. But don't underestimate its delicateness. Take the wrong approach when screwing into it, and you could end up with warped metal, misplaced holes, and a lot of frustration.
The good news is? The Clickmetal team are here to walk you through the whole process. We've been working with sheet metal for decades, so we know the tricks to a tight, secure fastening. Our step-by-step guide will walk you through different methods for screwing into sheet metal, so read on to get started!
Which Screw Type Should You Use for Sheet Metal?
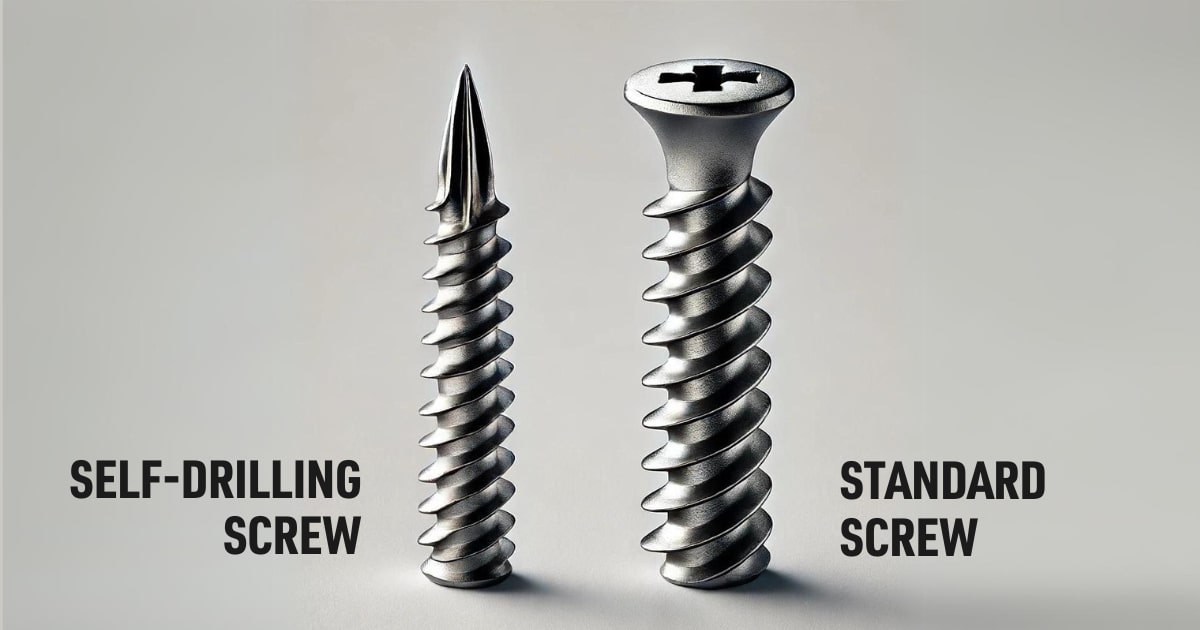
There are two screw types you can use for sheet metal: self-drilling or standard.
Self-drilling screws combine the functions of a drill bit and a screw. They have a sharp point that drills a pilot hole into the material as you drive the screw in, saving you from having to pre-drill.
Generally, self-drilling screws are the better choice for sheet metal. This is for a few reasons:
- Self-drilling screws save you time and effort since there's no need to pre-drill holes.
- Pre-drilling can distort thin sheet metal, making it weaker and causing misalignments. Self-drilling screws create clean holes, minimising this risk.
- Self-drilling screws are designed to drill through metal and create their own threads, often providing a stronger hold compared to standard screws in pre-drilled holes (especially in thicker sheet metal).
However, there are a few rare instances where you might want to use standard screws instead:
- Self-drilling screws can be too aggressive and damage metal thinner than about 0.5mm. In these cases, a standard sheet metal screw with a very sharp tip and careful pre-drilling might be better.
- Standard screws offer a wider variety of head styles compared to self-drilling screws. If a specific finish is important, you might consider specialty sheet metal screws.
Once you've chosen your approach, keep reading for the steps you need to take!
Option 1: Using Self-Drilling Screws
1. Gather Your Tools
- Self-drilling screw (choose the right size and head type for your project)
- Power drill with a bit driver attachment
- Centre punch (optional)
- Hammer (optional)
- Safety glasses
- Clamps (optional)
- Cutting lubricant (optional)
2. Mark the Attachment Point
On the sheet metal, clearly mark the exact spot where you want the screw to go. A centre punch can create a small indentation to guide the screw and prevent it from wandering.
3. Clamp the Sheets (Optional)
If you're attaching two pieces of sheet metal together, use clamps to hold them firmly in place. This prevents them from moving or bending as the screw drills and threads.
4. Prepare the Drill
Equip your drill with the appropriate bit driver attachment for the screw head (e.g., Phillips head, hex head). Make sure the bit is the correct size for the screwdriver and in good condition to avoid damaging the screw head.
5. Apply Lubricant to Screw Threads (Optional)
Applying a cutting lubricant like machine oil to the screw threads can be helpful, especially for thicker metals. It will reduce friction and heat build-up during drilling and driving the screw.
6. Position the Screw
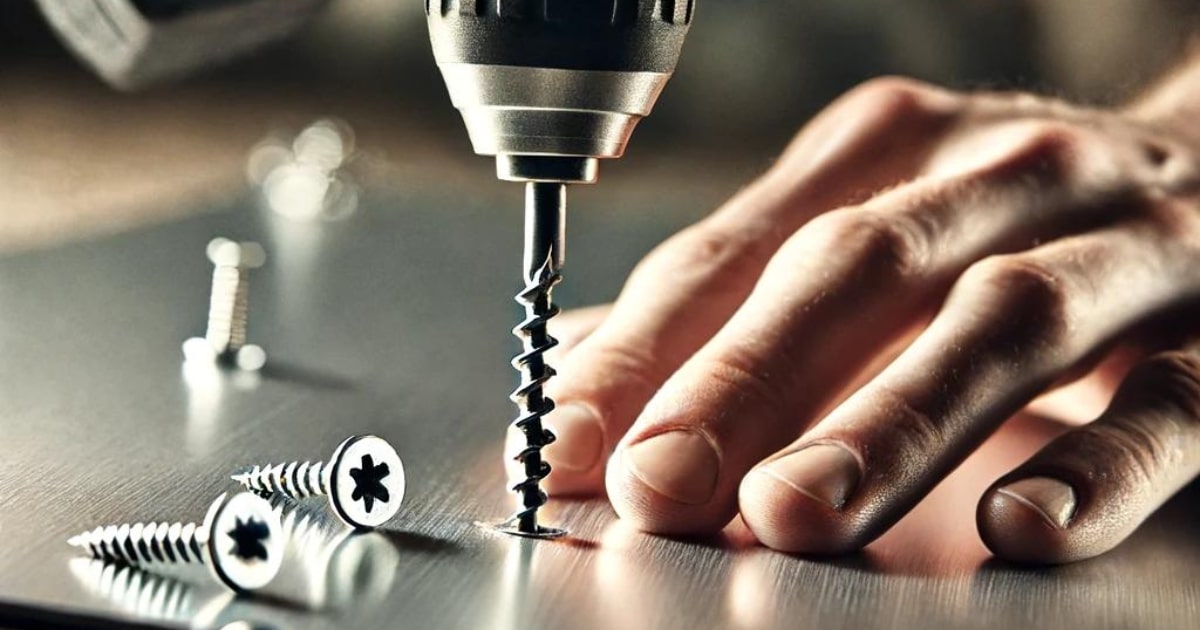
Put on safety glasses for protection from flying metal shavings. Place the pointed tip of the self-drilling screw directly on the marked spot on the sheet metal.
7. Start Drilling
Drill slowly at first, applying moderate pressure throughout. This allows the screw to centre itself and begin drilling a clean hole.
Once the screw starts drilling, increase the drill speed to a medium setting. Keep applying firm, even pressure throughout the drilling process. You'll see metal shavings being ejected as the screw drills its way through the material.
Read our complete guide for more information on drilling holes through metal.
8. Listen for the Pitch Change
As the screw drills through the metal, you'll hear the sound of the drill change pitch. This indicates the screw is nearing the end and starting to form threads in the metal.
9. Drive and Tighten
Once the drilling sound changes, continue driving the screw to tighten it. Don't overtighten - you'll feel resistance when it's secure. If the screw head snaps or spins freely, it's stripped and you'll need to start over with a new screw.
10. Release Clamps (if used)
Once the screw is tight, remove any clamps you were using to hold the sheet metal together.
Option 2: Using Standard Screws with Pilot Holes
1. Gather Your Tools
- Standard screw (choose the right size and head type for your project)
- Power drill with a bit set for metal
- Centre punch (optional)
- Hammer (optional)
- Safety glasses
- Clamps (optional)
- Backing plate (if working on very thin metal)
- Cutting lubricant (optional)
2. Mark the Attachment Point
Clearly mark the screw location on the sheet metal. A centre punch can create a dimple to guide the screw and prevent it from slipping.
3. Clamp the Sheets (Optional)
If you're attaching two pieces of sheet metal, secure them with clamps before screwing them together. This prevents movement and bending while drilling.
4. Place a Backing Plate (Optional)
If you're working on a very thin piece of metal, place a scrap piece of wood or thick cardboard behind the drilling point. This will provide support and prevent the drill bit from pushing the metal out of shape.
5. Prepare the Drill and Bit
Equip your drill with the appropriate metal drill bit. It should be sized slightly smaller than the diameter of the screw threads. Standard screws rely on the pilot hole for threading, so make sure the drill bit is sharp for a clean and precise hole.
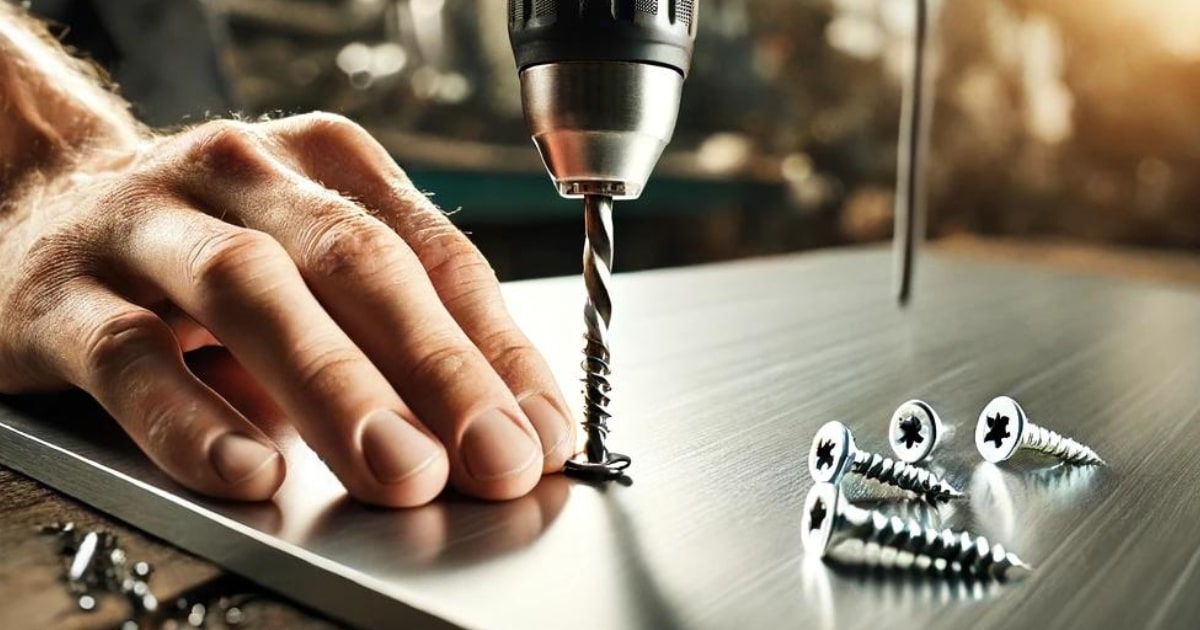
6. Drill the Pilot Hole
Put on safety glasses for protection from metal shavings. Place the drill bit directly on the marked spot on the sheet metal and drill straight down at a moderate speed, applying firm pressure to create a clean and precise pilot hole that goes through both sheets of metal (if applicable). Our guide to drilling holes in metal has more in-depth instructions if needed.
Once the hole is drilled, remove any metal shavings from the hole and surrounding area to prevent them from interfering with the screw threads.
7. Apply Lubricant to Screw Threads (Optional)
Applying a cutting lubricant, such as machine oil, to the screw threads might be a good idea if you're working with a thicker sheet. It will help reduce friction and minimise heat build-up during screwing.
8. Position and Drive the Screw
Place the standard screw into the pilot hole. Use your drill with the appropriate bit driver attachment to drive the screw straight into the hole at a moderate speed.
9. Drive and Tighten
Continue driving the screw until it's tight and secure. You'll feel resistance when it's properly fastened, so be careful not to overtighten. If the screw head snaps or spins freely, it's stripped and you'll need to start over with a new screw in a fresh pilot hole.
10. Release Clamps (if used)
Finally, remove any clamps you were using to hold the sheet metal together.
And there you have it - a perfectly screwed piece of sheet metal, ready to go for your project!
Buy High-Quality Sheet Metal, Cut to Your Exact Needs
Looking for top-quality sheet metal for your next project? You've come to the right place.
Clickmetal offers sheet metal in various thicknesses, precision cut to your exact length needs. Our standard tolerance of -0/+2mm results in a perfect fit every time.
Choose from a variety of metals to suit your project:
- Aluminium (grades 1050H14, 5251H22, 6082T6, and 5083'0')
- Stainless steel (grade 304)
- Galvanised steel (grade DX51DZ+275MAC)
- Mild steel (grade CR4)
- Brass (grade CZ108)
We cater to both businesses and DIYers across the UK. All sheet metal is manufactured in-house using state-of-the-art equipment, guaranteeing quality and consistency in each piece we send out.
We process most orders for dispatch within 3-5 working days, followed by next-day delivery via a reliable 24-hour courier service.
Browse our extensive selection of sheet metal and find the right choice for your project today!


